Mesh in Unity
This section describes the mesh you need to know to deform your sprites.
What is Mesh?
Mesh is a polygon that the Unity makes the image deformation.
When you open the PSB through the
sprite editor
, the Unity2D system will create the polygons automatically.
When do we need Mesh?
Like a human body, we need to add bones to the image.
With skeletal animation, you can make all the animations from a single sprite.
When the polygon is defined inside the image, then its vertices can be manipulated to deform the image with the Unity Bone system.
How to apply Mesh
1. To create a mesh, you might need to select a PSB
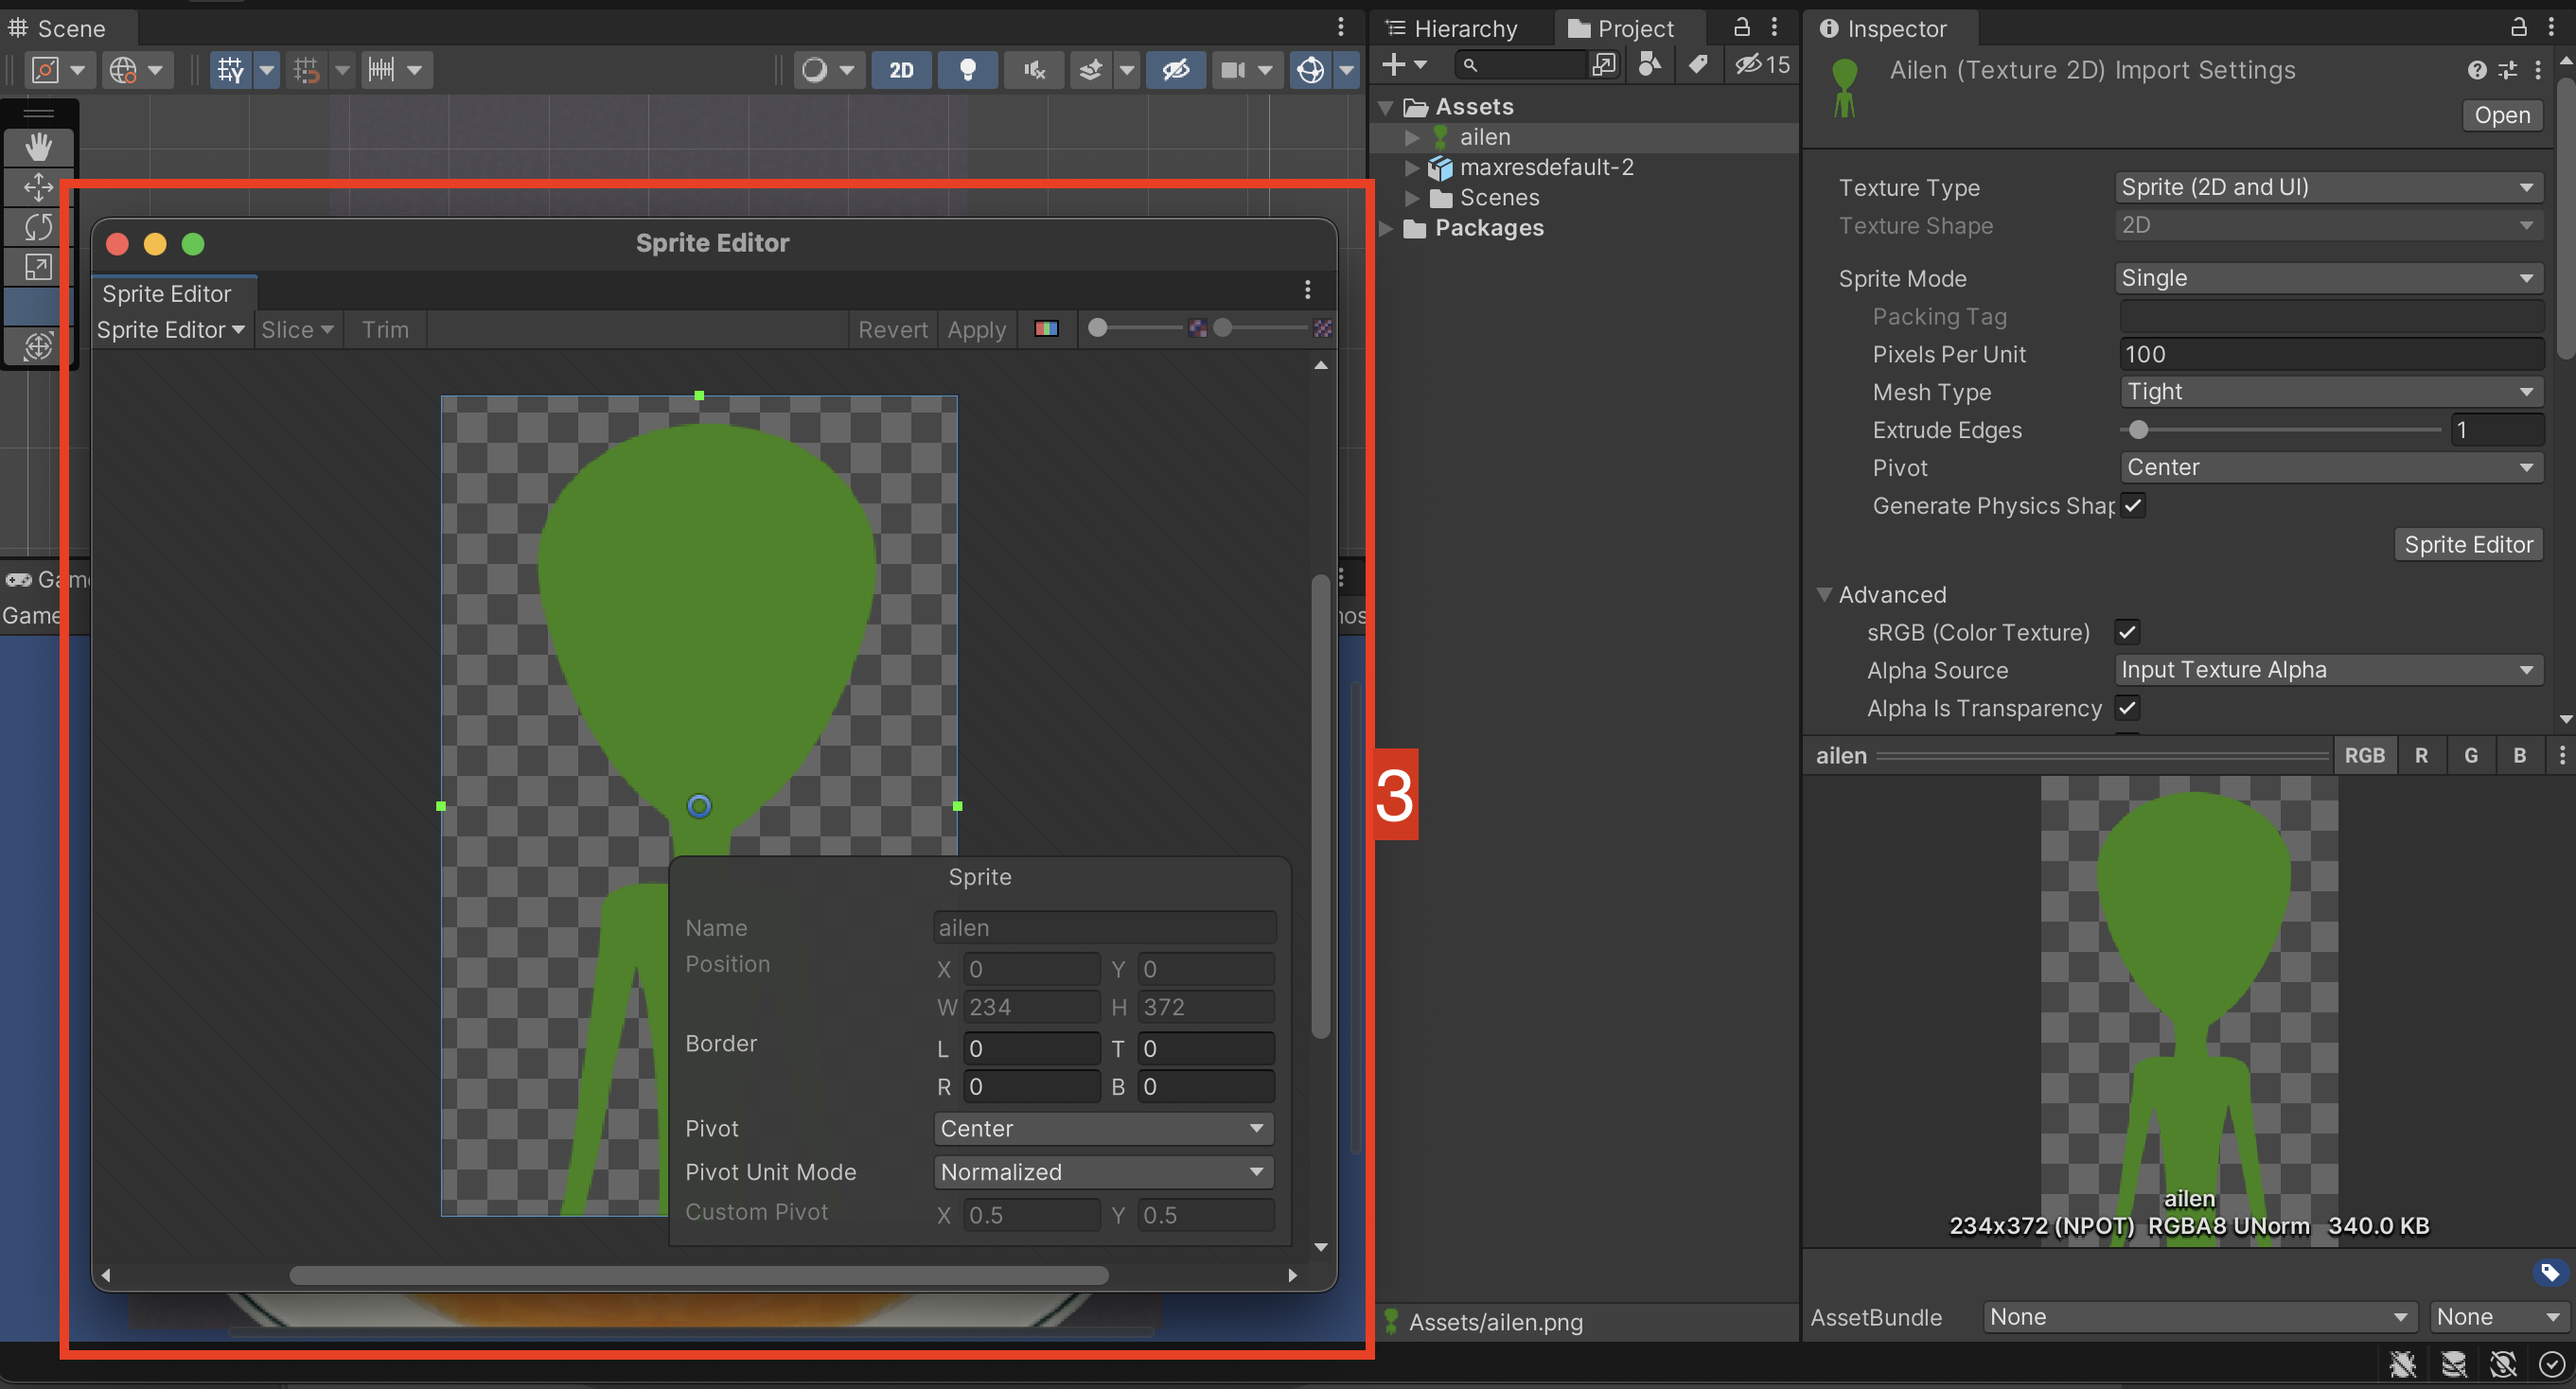
in your project, when you see the inspector tab. Clicking the sprite editor
button will show the sprite editor popup window.
2. Once you get the popup window, you will need to change the Sprite Editor
to the Skinning editor
.
3. You will see the auto-generated mesh when you tap the Auto Geometry
button. You can also Re-Generate the mesh if you donโt like it. In the options menu, you could choose the detail of the outline, alpha tolerance and subdivide. The options could be different for each image.
4. Because of the performance, we recommend you manually adjust all the mashes as much as possible.
For example, you might need to clean up the useless vertexes. This will helps you set the bone much easier. You can add or delete the vertexes through the Create Vertex
button.
5. How to add bone?
Once you have finished your mesh, the next stage is adding bones. Click and drag to create the first bone, following your design.
Furthermore, if you want to adjust the Weights, click the Auto weights
button.
6. Always, you will need to adjust weights for the vertex. Itโs up to you but remember, no pain no gain ๐. There are two more useful tools that you can use for adjusting.
The
Weight Slider
will help you if you want to set the value accuracy.Weight Brush
would be great if you donโt want to spend much time doing the rigging.
Last updated